How To Oil Wooden Countertops
I don't remember exactly when I last oiled my wooden counter tops, but I know I didn't do a particularly good job. I was a little rushed, and I skipped on proper tools. This time around, I felt compelled to fix my previous hastiness.

Image credit: Staying Cosy
I love my solid oak countertops. They're soft, warm, and easy to repair. If you scratch the surface, simply fill it in with coconut oil and you'll be fine until the next time you refinish it. It is difficult to say when that time comes as it depends entirely on your daily kitchen habits.
Generally, it is advised to oil the wooden counter tops annually, before any damage to the wood has a chance to develop.
My re-oiling was overdue by more than a half year, and there were visible dry patches on the wood. That's a warning sign not to wait any longer, because at this stage the wood has been stripped of all previous oil and is now prone to damage. I will walk you through my re-oiling process so that you avoid any mistakes.
This routine also applies to the very first oiling of brand new hardwood counter tops. For those of you who are already getting your hands dirty and looking for quick tips, I have created a quick guide to follow while refinishing your kitchen surfaces. If you have time, however, I do recommend reading through the whole detailed process below.

My handy step by step guide to oiling counter tops
STEP 1. Plan Your Oiling
This may appear unnecessary, but believe me when I say that each step is essential. I recommend planning the oiling when:
your kids are not around
the place can get well ventilated
and there is plenty of natural daylight pouring in.
Good lighting is very important, as it will allow you to easily distinguish between the oiled and raw areas. Keep in mind that one layer will most likely not be enough.
Plan for at least two coats, with an 8-hour drying period in between.
The planning period also requires you to get hold of the correct tools - see the step number 4 for details.
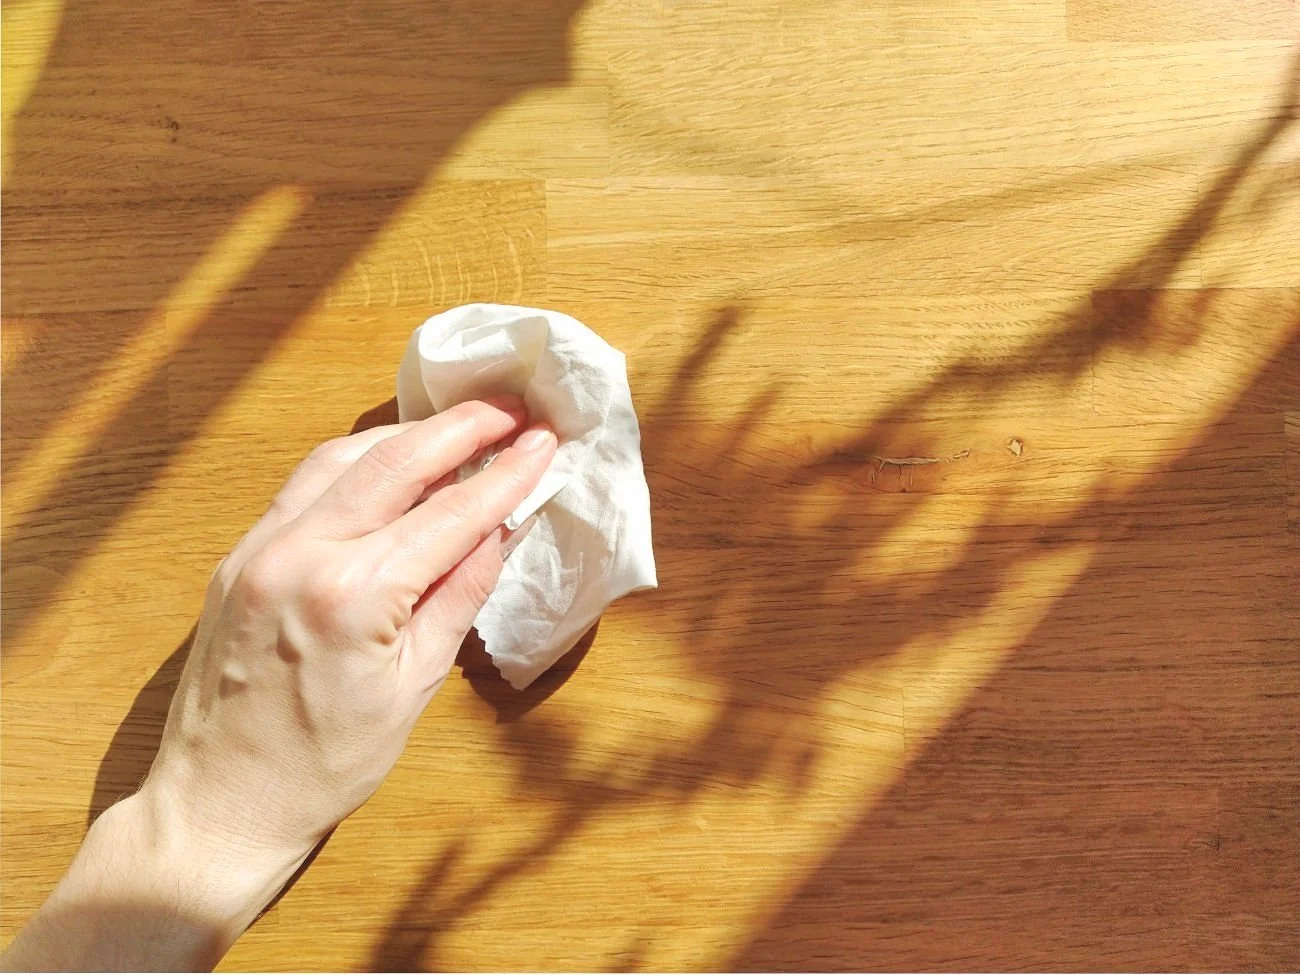
Image credit: Staying Cosy
STEP 2. Prepare the Counter Tops
To begin, thoroughly wipe your hardwood counter tops with soapy water before drying them with a clean, non-fibrous cloth. Now is the time to sand any areas that have considerable water damage or staining. Wood filler should be used to fill large or deep scratches. Leave the minor cuts alone; the oil will take care of them. Clean and de-dust the surface once again, then allow it to dry completely.


STEP 3. Protect the Surrounding Areas
If you're concerned about spilling oil on the floor, cover it with plastic sheeting or a piece of cardboard that you can move around as needed. Protect any surrounding areas, the sink, the tap, and the backsplash with masking tape.

Image credit: Staying Cosy
STEP 4. Get Your Tools Ready
Make sure you have the right kind of oil ready. There are special food-safe ones for counter tops specifically. I used Osmo Top Oil.
Thick fine brushes are the best to use for oiling. Have a large size for the large areas and a smaller one for the edges. I have tried applying the oil with a cloth too, but I find brushing much easier and more thorough.
A respirator may also come in handy to protect you from inhaling the fumes.

Oil in a well lit and well ventilated area
STEP 5. Oil the Surfaces
Make sure to shake the oil can before pouring any oil out. Put a conscious effort into doing this regularly. It may be difficult to guess the correct amount of oil at first, and I think I naturally tend to use a bit too much, but once you get into it, you will find your technique.
Remember: oil is not a varnish or paint. It is supposed to soak into the wood. Use the oil sparingly and keep brushing it in the grain direction until the brush itself feels dry.

Image credit: Staying Cosy
STEP 6. Ventilate and Wait
Have a break. Depending on the time of day, you may decide to go outside to avoid inhaling the evaporating oil, have an afternoon cup of tea, or perhaps go to sleep if it's late.
Whatever you decide to do, make sure to ventilate before, during and after applying the oil.


STEP 7. Prepare for the Second Coat
Now, you should be able to see how well the first layer of oil has seeped into the wood. You may also notice that some areas remained dry despite the initial layer. These were probably the most dehydrated, and they will require at least one more layer.
Once the surface is completely dry, you may want to wipe it down with a dry cloth to remove any excess oil and perhaps remove any bristles that have become loose and adhered to the surface during the drying process.
STEP 8. Oil Again
Repeat the step number 5. Make sure you focus on the dry areas and the areas that are frequently exposed to water.
Depending on the state of wood before oiling, you may need to repeat this step again.
When treating the wood for the first time, you will apply a minimum of three coats. If you are re-oiling, like me, I recommend two layers. A third one might be applied locally to the most damaged areas.

Image credit: Staying Cosy
STEP 9. Ventilate and Wait Again
Once the surface is dry, you may proceed to remove the masking tape. Do a test of the wood's newly restored waterproofing.
Test your freshly oiled hard wood counters by sprinkling a small amount of water on the surface. Water droplets should remain on top of it.

Image credit: Staying Cosy
STEP 10. Job Done! Time for a Break.
Before you start cleaning up, and I know you want to finish as soon as possible, take a moment to admire your work. Enjoy some well-earned indulgence, in my case it is dark chocolate. Do not skip this step!